The waistband.
This is the part of the project where I run into some roadblocks and am *once again* reminded of the importance of making a mock up if you’re not sure of the fit of a finished garment from a commercial sewing pattern.
Like I mentioned in Part One, I successfully sewed the lapped zipper and the crotch seam and everything was fitting perfectly. So I excitedly proceed to sew the interfacing onto what will be the underside of the waistband and sew the two sides of the waistband together. I then read the instructions to sew the waistband onto the shorts and I’m…confused.
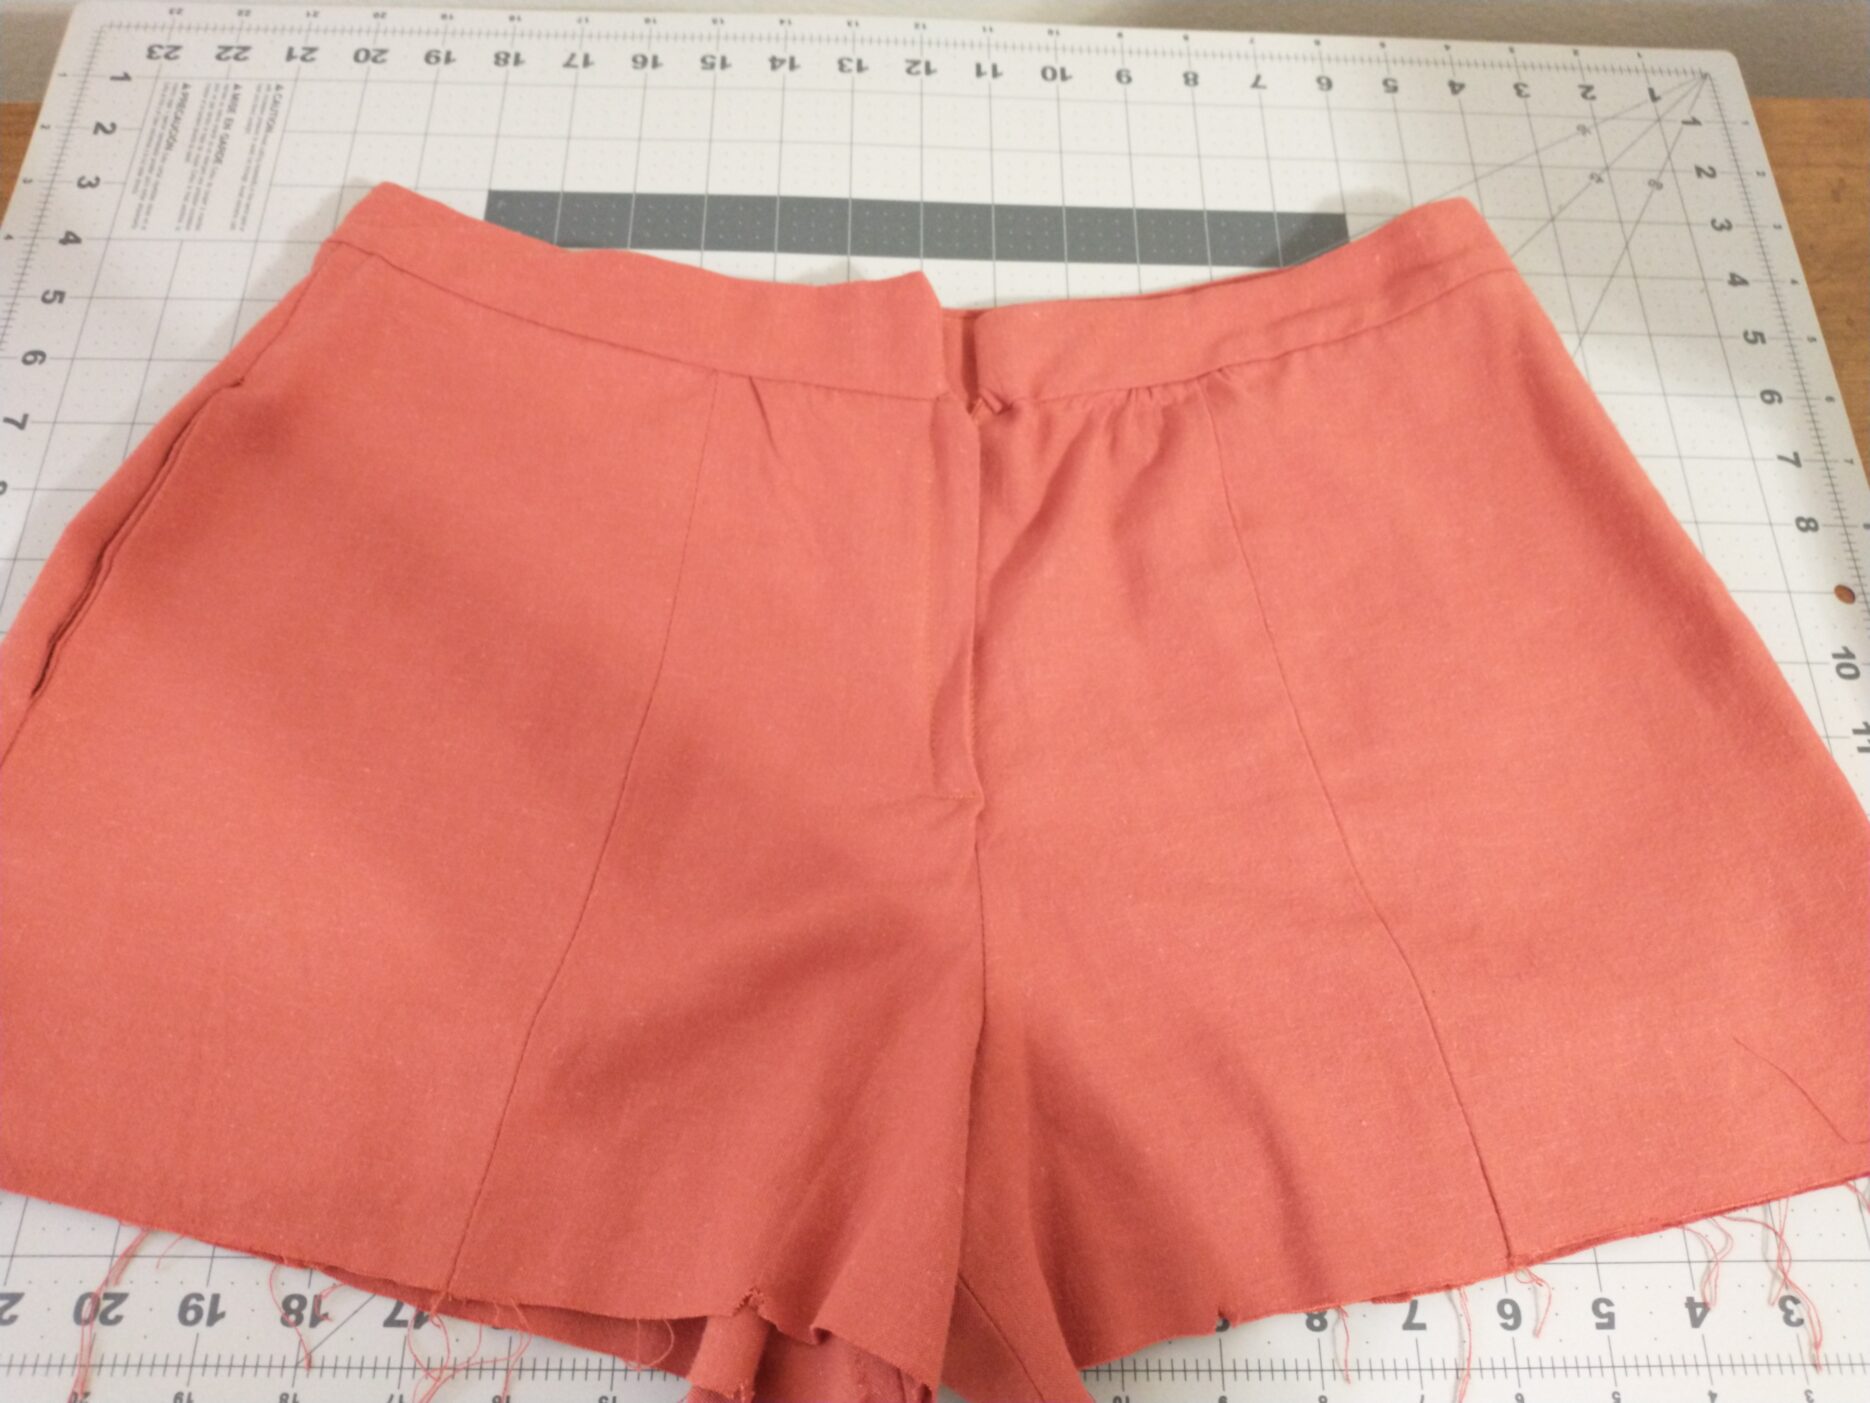
The illustrations are not much of a help at this point as it shows the waistband looking straight when it is, in fact, curved. It took me a couple tries of pinning and re-pinning to realize that the “underside” of the waistband is the side that curves outward. Once I figured that out I ran into the ultimate problem of this project for me: The waistband is shorter around than the shorts.
This throws a huge wrench into this project. If I have to use the ease stitching that the pattern instructions told me to put in before working on the waistband to match the width of the shorts to the waistband, then the shorts would be too small for my waist.
Two realizations hit me at this point. One, the shorts would not fit and, two, like so many people I’ve realized that the stress of this pandemic has added more pounds to my body than I’m used to and I should have taken my waist measurements again before cutting the pattern pieces onto my fabric.
Of course, I would not be deterred so easily. I spent at least an hour pinning and re-pinning the waistband and figured out a way to match the waistband to the shorts with only having to gather one side of the front by an inch. This made the waistband extend past the “front” of the lapped zipper instead of the “back,” like the pattern illustrations indicated. But after spending almost three hours trying to sew the waistband on without taking inches out of the waist, I was happy with how I figured it out!
However, this led me to what would be the final nail in the coffin of this project for me. The interfaced “underside” of the waistband was shorter than the waistband already sewn onto the shorts. Yeah, I know. How, even after shortening one side of the front of the shorts to fit the “outside” of the waistband, does the “underside” not match? I don’t know.
And, it’s at this point that I won’t be much help in demonstrating how to finish this cute pair of shorts as I will be going completely off the pattern instructions.
After pinning and re-pinning the “underside” so much that the iron-on interfacing was starting to separate along the edge, I decided to just match one end of the waistband and continue pinning all the way around, cutting the excess fabric on the other end so it would be even. This resulted in having the waistband meet the zipper on either side.
I really thought that it would still work. But, after taking the time to *slipstitch the entire underside of the waistband to the shorts* I tried them on and realized my mistake. Without the waistband lapping over itself, there was no way to secure it without pushing the zipper to lie sideways.
What I was left with is an awkward gap at the opening of the shorts above the zipper. I also found out that I didn’t need to take up the crotch by an inch, as the shorts were digging into my buttcrack. What I had essentially sewn was a pair of linen booty shorts with a gap in the front that perfectly frames my belly button.
But, hey, at least my seams are all ironed and pinked!

What I’ve Learned
After I’ve had some time away from this pair of shorts, I’ve realized a couple things about the overall design. The shorts are designed to be a couple inches smaller at the waist to give it a flared, semi-fitted look. Apparently my waist is currently bigger than a McCall’s pattern size 14, so they wouldn’t have fit in the first place. If I do sew with this pattern again (and i would like to), I would need to add a half-inch or inch to the waist of the pattern. I also don’t need to take up the crotch seam.
I also need to start forcing myself to make mock ups, because this is the third McCall’s pattern that I’ve used in the past six months or so that had fit issues. Honestly, fit issues like this is one of the reasons I’ve started this blog. I feel like I’m at the point where I have the basics of sewing figured out, but for the life of me I can never get the fit right. I know that this is partially because the fit of garments in commercial patterns are never consistent (and I should bite the bullet and start making mock ups). But I know the other reason is human error. Figuring out the fit of a garment, especially when considering things like what kind of fabric I should use for what I want to make, how a specific style/silhouette would look on me, and any changes I would need to make on a pattern to achieve that look, is the current puzzle I’m trying to solve. And I know that solving it will unlock a whole new level of sewing for me. The kind that includes the pretty details and fabrics that have inspired me to continue sewing in the first place.
Maybe another time I’ll figure out a way to fix the waistband and finish these shorts. For now, I’ll have to put these aside as I have a cosplay to start (with a mock up). I’m excited to share more details about that in my next post, as it’ll be my first full cosplay project since the start of the pandemic!


